Video Converter App Output Settings
Before converting a video file using Video Converter App for iPad/iPhone, it is necessary to customize the output video first. For example, you can reduce the video size from 1080p to 720p or less and thus compress the video dramatically. In this post, I’d like to show you all the output video settings you can make in Video Converter App. And let me take iPhone as an example.
First, open Video Converter App in your iPhone.
Upload video files via Wi-Fi Upload or iTunes File Sharing, or import videos from Camera Roll, SkyDrive, Dropbox, etc. if you haven’t done it yet.
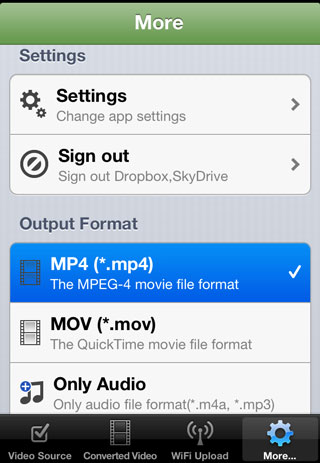
Tap the More… tab and go to Settings to change app settings.
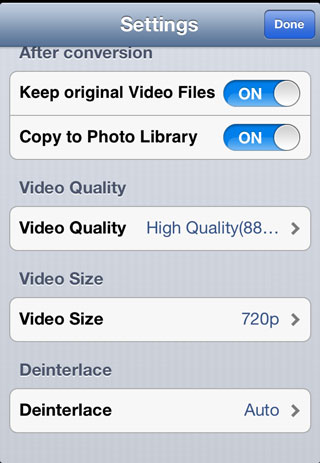
After conversion: There are options to keep original video files and copy converted video files to Photo Library after conversion. You can turn them on or off of your choice.
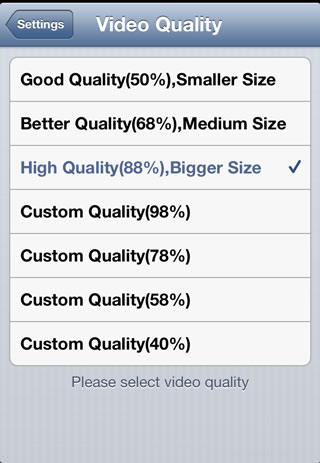
Video Quality: There are several quality options for your choice. The percent indicts the size of the output video file compared with that of the original video file.
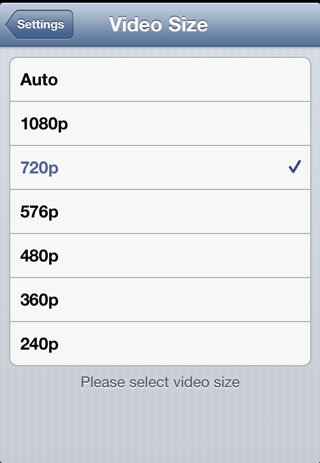
Video Size: You can set the video size to 1080p, 720p, 576p, 480p, 360p, 240p, simply choose Auto. Generally, the bigger the video size is, the larger the file size and the higher the video quality will be.
Deinterlace: You can choose Auto, Never or Force.
Output Format: In the More… tab, you can specify the output format as MP4 (*.mp4) (The MPEG-4 movie file format), or MOV (*.mov) (The QuickTime movie file format). Both of them are fully compatible with iPhone/iPad/iPod touch devices. Besides, you can output video files as audio only files. There are two audio output formats available: *.m4a and *.mp3. Yet, the video to audio conversion is provided as an In-App Purchase.